Close
Close
Four steps for testing housing material performance
 When exposed to commonly used aggressive disinfectants and drugs, many materials used in medical devices can crack, craze, discolor, and become sticky. Currently, there are no industry standards for evaluating surface compatibility. That’s why Eastman developed a 4-step test method based on ASTM standards to better understand why plastics fail and how different plastics perform in the real world.
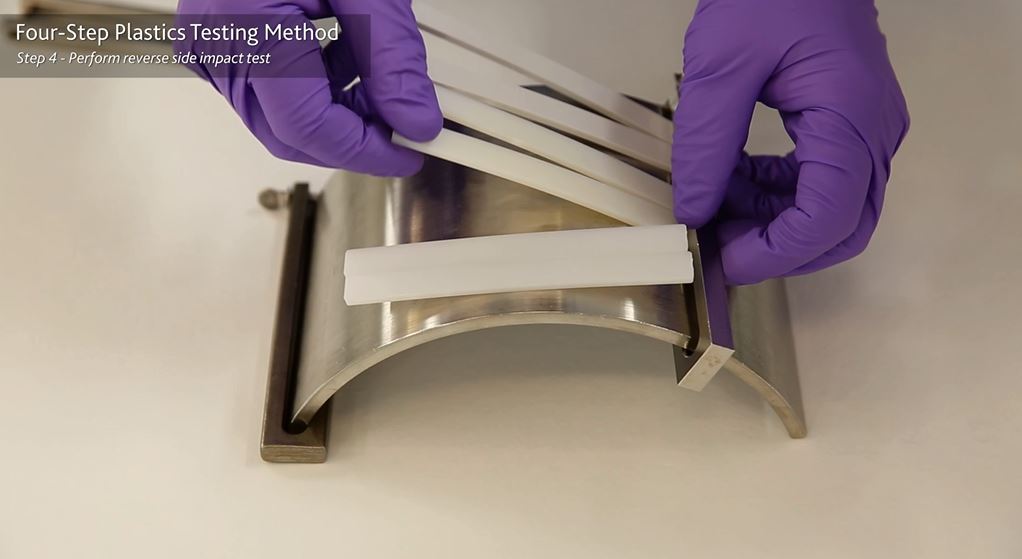
This simple, easily-repeatable test can help predict the reliability of a material after exposure to harsh cleaners and drugs commonly used in hospital settings. The method uses a 1.5% constant strain jig together with wet patches for applying chemical reagents. Here’s how it works:
- Select the appropriate jig.
- Load flex bars onto jig.
- Apply chemicals to the flex bars.
- Perform reverse side impact test.
Read our Disinfect with Confidence brochure for more details on each step of the process, and check out this video.
Ultimately, this test should help you confidently choose the best material for your next project.
Learn more about Eastman’s medical grade polymers for medical device housings and hardware at Eastman.com/medicalhousings.